Introduction
This simple device provides a method of manually producing bales of hay. Small-scale farmers may be interested in this technology because hay is both easier to store and easier to transport when it has been baled. Also, baled hay retains a higher nutrient content than hay that has been cut and left exposed to the sun.
The technology is simple, easy to reproduce and inexpensive. A similar hay box design, without the lever and tamp, is mentioned in Christie Peacock’s book Improving Goat Production in the Tropics (p. 126). Although a lever and tamp will give more compression, it is also possible to compress the hay in the box by stomping on it.
Assembly and use
The bales are pressed in a wooden box with no bottom. Compression is achieved by using a lever arm and tamp attached to the wooden box. Attach the lever arm with a pin that is substantial enough to withstand the pressure applied to the hay.
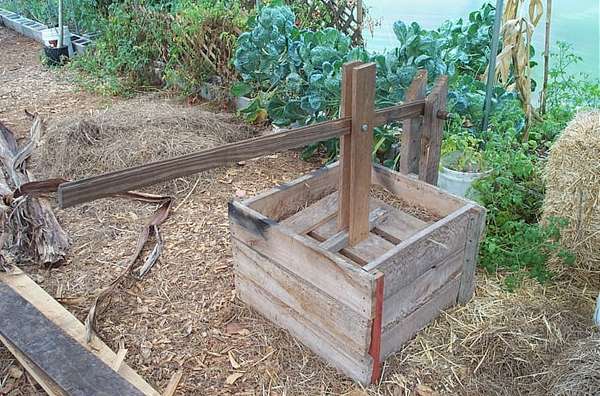 Dimensions and materials can be modified in order to suit local needs. Our haybaler is 24 x 24 in (0.6 x 0.6 m) and the depth is 19 in (48 cm). The lever arm is 5 ft (1.5 m) long and the point of attachment between the tamp and the lever arm is 19 in (48 cm). The following pictures and notes explain the procedure for using the haybaler.
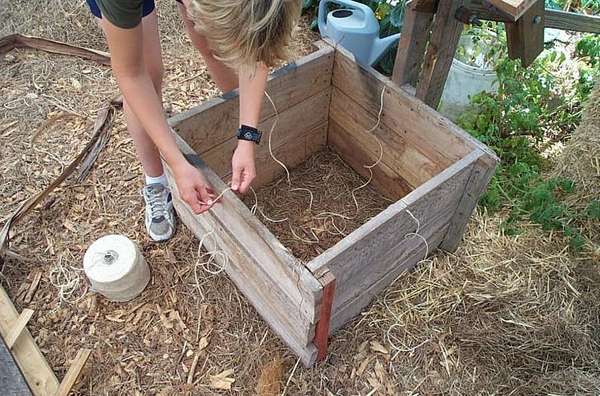 Cut narrow slots in the middle of the top edge of each wall. Insert twine into the notches and run the twine across the ground and out through the notch on the opposite side. Be certain to leave enough twine hanging out for cinching and tying once the bale has been compressed.
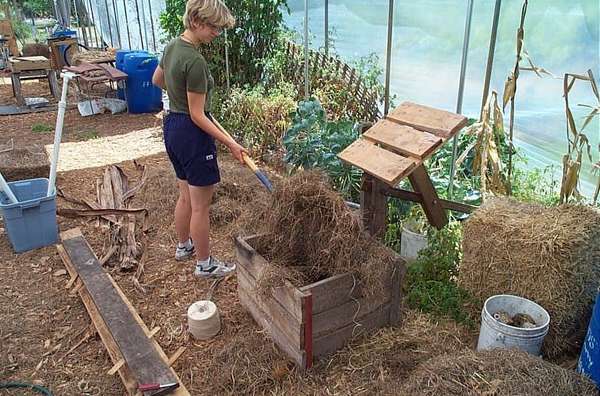 Fill the box with hay that has been cut and dried.
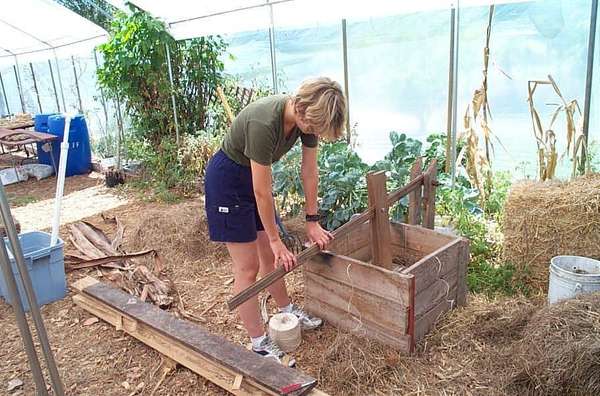 Compress the hay using the lever and tamp. The tamp should be attached to the lever with a bolt that allows it to pivot for a good fit all the way down.
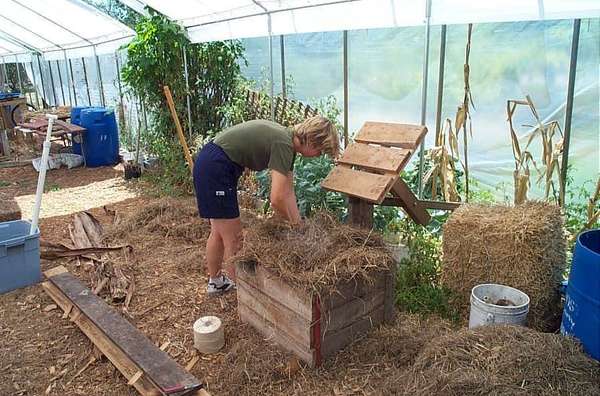 Continue to refill the box and compress the hay until the bale is the desired tightness.
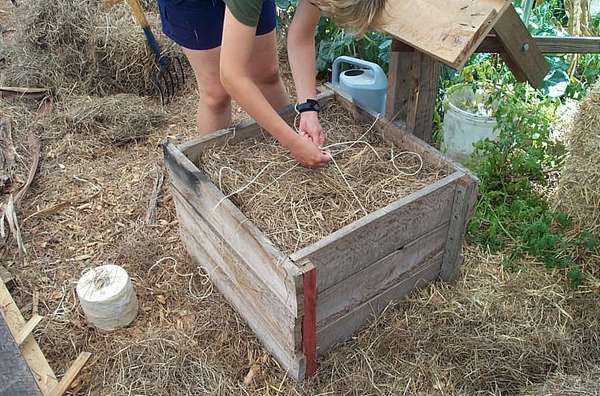 Once the bale has been compressed, lift up the tamp and tie off the bale with the overhanging twine.
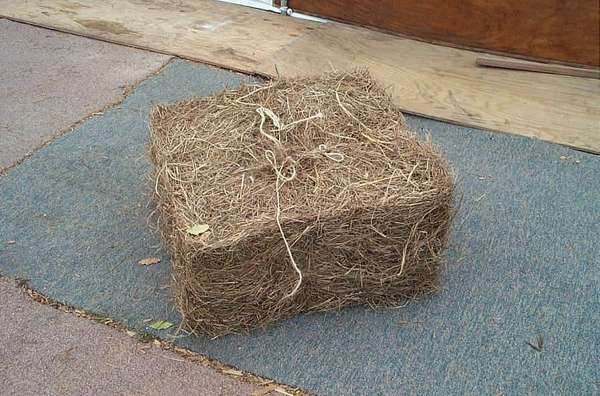 Here is what a finished bale might look like.
For more information and designs for other hay balers, use the following resources fropm Tillers International:
Construction Drawings to Scale for the Themi-Tillers Hand-Powered Hay Baler by Richard Roosenberg and walter Muro
Tiller's TechGuide to Tehmi-Tillers Manual Hay Balder by Richard Roosenberg and Janelle Wheelock